Post-remediation verification: your complete UK guide
- Simon D Campbell
- Aug 6
- 12 min read
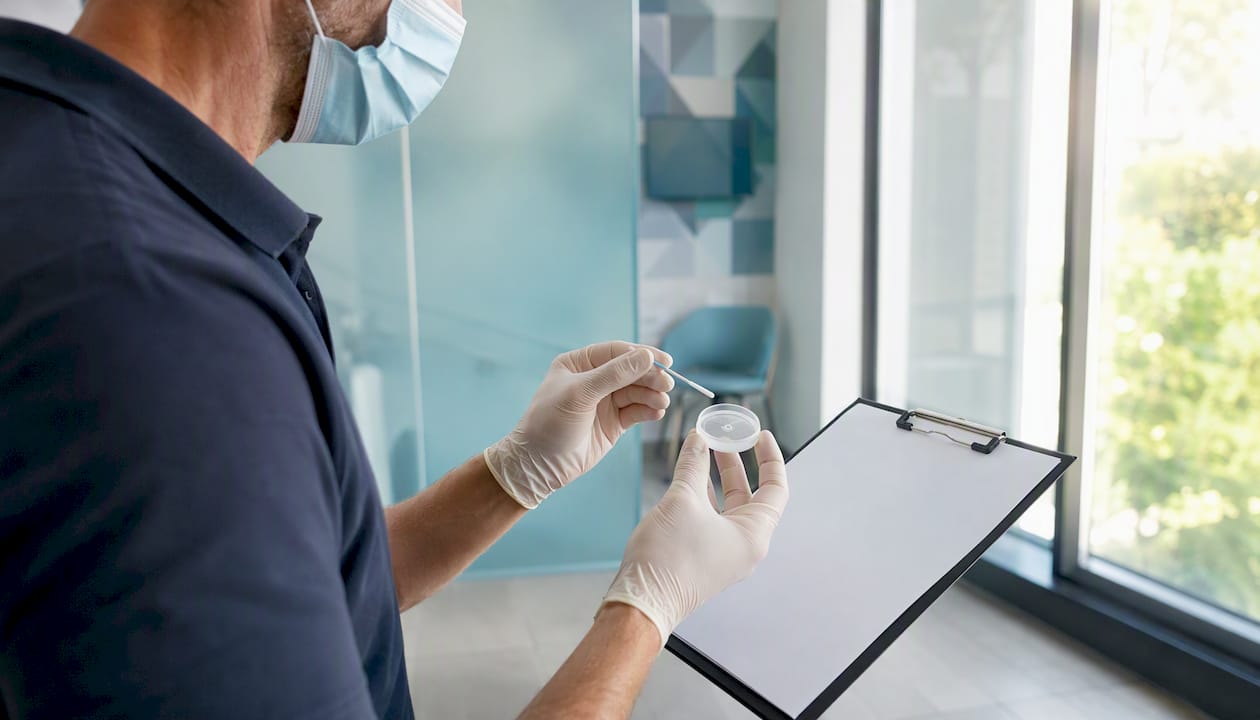
Post-remediation verification (PRV) is an independent inspection and sampling process that confirms a remediated area has returned to a safe, documented condition — what the industry calls Condition 1 under IICRC S520 guidance. Three evidence streams determine whether a site passes: a thorough visual inspection of all remediated surfaces, moisture readings at retained substrates, and environmental sampling (air, surface, or HVAC, depending on the scope of work) — each compared to the pre-agreed clearance criteria relevant to the project. PRV happens after cleaning and drying are complete, and before containment is removed or reconstruction begins, once all pre-agreed clearance criteria can be meaningfully applied.
A pass is not simply a clean-looking room. It is a documented, evidence-based conclusion that the space meets agreed clearance criteria — and that conclusion must come from someone independent of the remediation contractor.
Visual inspection: no visible mould growth, no residual debris, no staining on retained materials
Moisture measurement: substrates at or below dry-standard targets, with no unresolved damp pockets
Environmental sampling: airborne spore counts and surface results consistent with an outdoor control and agreed genus-level expectations
Homeowners, landlords, property managers, and insurers all commission PRV. So do environmental professionals managing commercial or institutional sites. The Society of Cleaning and Restoration Technicians (SCRT) states that PRV’s primary purpose is to provide unbiased evidence that a building has returned to a Condition 1 fungal ecology, and that the criteria and process for verification should be documented and agreed before work starts.
Pro Tip: Never allow the remediation contractor to perform their own clearance testing. Independence is the single most important safeguard in the entire PRV process.
Key takeaways
Post-remediation verification is only complete when visual inspection, moisture readings, and environmental sampling all meet agreed, pre-documented criteria — assessed by an independent professional using a UKAS-accredited laboratory.
Point | Details |
Agree criteria before work starts | Document moisture thresholds, sampling methods, and pass parameters in the remediation contract. |
Independence is non-negotiable | The verifier must have no financial relationship with the remediation contractor on the same project. |
Chain of custody protects the evidence | Every sample needs a completed chain-of-custody form; missing documentation invalidates the report for insurers. |
A failed PRV triggers rework, not just re-testing | Require the contractor to correct defects and bear re-testing costs under a contractual clearance guarantee. |
Dudleyspecialistcleaners delivers the full evidence pack | Moisture logs, photographs, lab reports, and a formal clearance certificate are supplied at handover for every project. |
Table of Contents
Who should perform PRV in the UK, and which credentials matter?
Which sampling methods are used in PRV, and what does each one tell you?
How are pass criteria set, and why must you agree them before work begins?
How is a PRV sampling plan developed and executed, step by step?
What does PRV typically cost and how long does it take in the UK?
How Dudleyspecialistcleaners documents PRV: a practitioner example
Why agreeing clearance criteria early is the single most important step
What does PRV actually cover — and what are its limits?
PRV is a point-in-time assessment. It documents the condition of a space on the day of inspection; it does not guarantee that mould will never return if the underlying moisture source is not permanently resolved.
Typical scope items include:
Visual inspection of all remediated and adjacent surfaces
Moisture readings at retained substrates (timber, plasterboard, masonry)
Air sampling inside the containment zone and at least one outdoor control
Surface tape lifts or swabs at retained materials or cavity openings where relevant
HVAC and duct checks when ductwork was affected by the original contamination
PRV does not replace a structural survey, and it will not identify latent defects behind sealed surfaces that were not part of the remediation scope. It also does not cover unrelated contamination (asbestos, lead, chemical residues) unless those assays are specifically commissioned. When species identification, ERMI-type indices, or allergen assays are needed — for example, in cases involving immunocompromised occupants or legal disputes — those are ordered case by case, on the advice of the independent environmental professional (IEP).
Pro Tip: Ask your verifier to confirm in writing which surfaces and spaces are within scope before sampling day. Scope creep after the fact is a common source of dispute.
A clearance testing guide for homeowners confirms that containment should remain in place during testing, and that full lab documentation must be retained by the client — not just the contractor.
Who should perform PRV in the UK, and which credentials matter?
The person who performed the remediation should not be the person who verifies it. That conflict of interest undermines the entire purpose of clearance testing. An independent IEP or third-party assessor provides the unbiased evidence that insurers, solicitors, and future buyers require.
In the UK, trust signals to look for include:
UKAS-accredited laboratory: samples must be analysed by a lab holding UKAS accreditation for the relevant test methods. UKAS is the UK’s national accreditation body, and accreditation confirms the lab meets internationally recognised competence standards.
Recognised professional credentials: look for membership of bodies such as the Chartered Institute of Environmental Health (CIEH), the Institute of Environmental Management and Assessment (IEMA), or equivalent specialist qualifications in indoor air quality or environmental science.
Documented independence: the IEP should have no financial relationship with the remediation contractor on the same project.
Questions to ask a prospective verifier before engaging them:
What credentials and professional memberships do you hold?
Which UKAS-accredited laboratory will you use, and can I see their scope of accreditation?
How do you handle chain of custody from sampling to lab receipt?
Are you familiar with IICRC S520 and relevant UK guidance such as the Gov?
What is your standard turnaround for results, and do you offer rush analysis?
FEMA guidance on clearance sampling reinforces that sampling objectives and quality assurance procedures must be established before sampling begins — a verifier who cannot answer these questions clearly is not ready to run your PRV.
Which sampling methods are used in PRV, and what does each one tell you?
No single test method gives a complete picture. A well-designed PRV uses a combination of methods, selected to match the remediation scope and the building type.
Air sampling (spore traps)
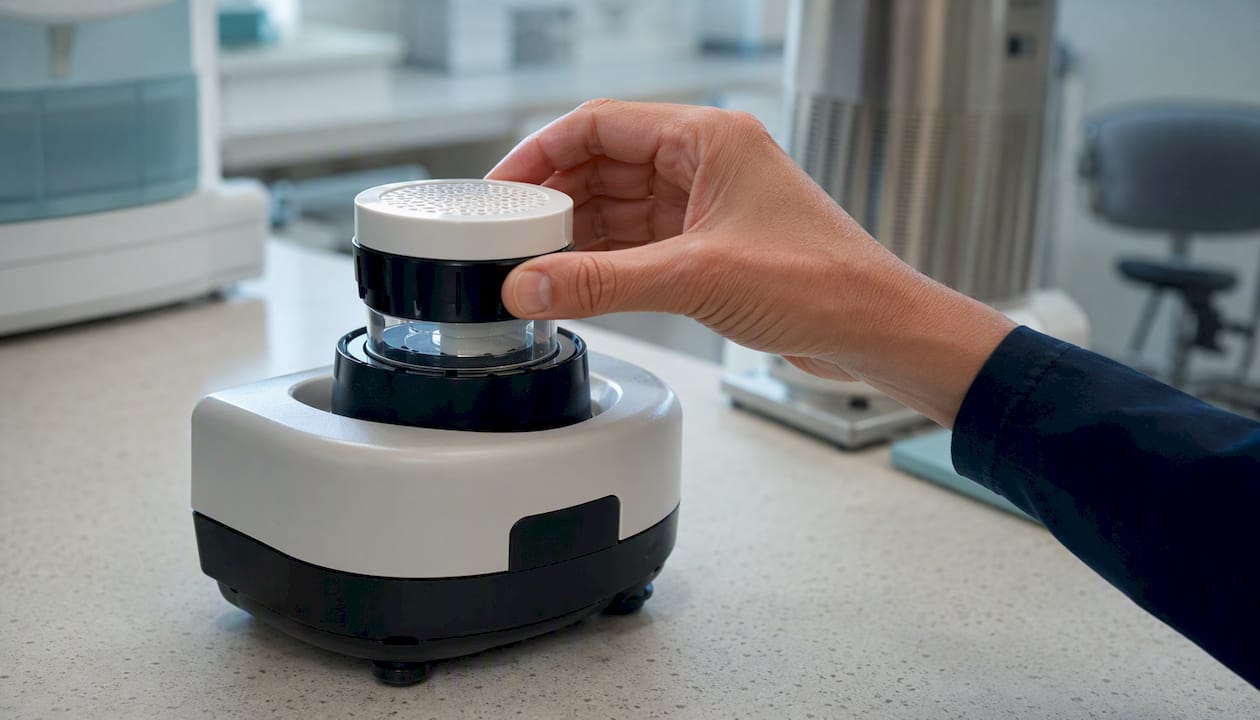
Air sampling captures airborne fungal spores on a cassette over a measured volume of air. Results are compared with an outdoor control sample taken at the same time. Elevated indoor counts relative to the outdoor baseline suggest residual contamination. The limitation is that air sampling is a snapshot: spores settle quickly in still air, so counts can appear low even when surface contamination remains. Negative air pressure inside the containment zone should be maintained during sampling to reflect realistic conditions.
Surface sampling (tape lifts, swabs, bulk)
Surface tape lifts are used on retained materials, cavity openings, and any surface where visible residue is suspected. Swabs are better suited to irregular or porous surfaces. Bulk sampling (a small physical sample of material) is used when species identification or quantification of embedded contamination is needed. Surface results indicate what is present on a specific substrate, which is distinct from what is airborne — both types of data contribute to the weight-of-evidence assessment.
Moisture measurement
Pin meters measure electrical resistance between two probes inserted into the material; pinless meters use radio frequency to scan beneath the surface without penetration. Both have a role: pin meters give precise readings at a specific depth, pinless meters allow rapid screening of large areas. Timber is typically considered dry at or below 19% moisture content (MC); plasterboard at or below 1% MC by weight. These dry-standard thresholds are the most commonly agreed pass criteria for PRV, but the exact targets should be set in writing before remediation begins.
HVAC and duct sampling
When ductwork was within the contamination zone, or when the HVAC system was operating during the mould event, duct sampling must be included. Spore trap cassettes or swabs are taken from supply and return registers. A whole-building approach is appropriate for larger commercial sites or where cross-contamination between zones is suspected.
How are pass criteria set, and why must you agree them before work begins?
Clearance criteria should be written into the remediation plan before a single square metre of material is removed. Agreeing them afterwards creates the conditions for dispute: the remediator argues the result is acceptable; the client disagrees; no one has a reference point.
The weight-of-evidence model combines all three data streams — visual, moisture, and sampling — rather than relying on any single metric to determine a pass. A site that passes air sampling but still shows elevated moisture in retained timber has not passed PRV.
Commonly used numeric reference points include:
Timber moisture content at or below 19% MC (pin meter)
Plasterboard at or below 1% MC by weight
Indoor airborne spore counts at or below outdoor control levels, with no dominant indoor genus absent from the outdoor sample, and surface species composition on retained substrates consistent with outdoor reference unless species-specific clearance is required
No visible mould growth, staining, or remediation debris on any inspected surface
These are guidelines drawn from IICRC S520 and practitioner consensus, not universal legal limits. The appropriate thresholds for a specific project depend on the building type, the original contamination extent, and the intended occupancy.
Pro Tip: Include a clause in the remediation contract that specifies the agreed clearance criteria and names the independent verifier. This protects both parties and removes ambiguity about what “done” means.
FEMA’s clearance sampling guidance states that sampling objectives and QA procedures must be set prior to sampling — a principle that applies equally to mould clearance as to chemical incident response. The Gov similarly requires a verification plan that sets out the data needed to demonstrate successful remediation.
How is a PRV sampling plan developed and executed, step by step?
A structured sequence protects the integrity of results and ensures the evidence pack is defensible.
Confirm containment is intact and negative air pressure is maintained. Do not begin sampling if containment has been breached or if the negative air machine has been switched off.
Allow a still-air period. A minimum of 24–48 hours without disturbance allows settled spores to reflect ambient conditions rather than the activity of remediation work.
Complete the visual inspection first. Document all surfaces with photographs. Note any areas of concern before sampling equipment is introduced, so visual findings are recorded independently of lab results.
Record moisture readings. Use both pin and pinless meters across all retained substrates. Log readings by location and material type.
Collect air samples. Run spore trap cassettes inside the containment zone and simultaneously collect an outdoor control. Record flow rate, volume, and duration for each cassette.
Collect surface samples where indicated. Take tape lifts or swabs at retained materials, cavity openings, or any surface flagged during visual inspection.
Preserve chain of custody. Complete a chain-of-custody form for every sample: sample ID, collection time, collector name, and condition at dispatch. Seal and label samples before leaving the site.
Dispatch to a UKAS-accredited laboratory. Confirm the lab’s scope of accreditation covers the required test methods. Standard turnaround is typically 3–5 working days; rush analysis (24–48 hours) is available at additional cost.
IEP interprets results against agreed criteria. The IEP produces a written report with a clear pass or fail conclusion, supported by the full data set.
CIRIA guidance C735 provides UK-focused technical detail on designing verification plans and specifying evidence requirements for remediation projects, and is a useful reference for practitioners managing complex or multi-phase sites.
What should a remediation verification report contain?
A complete report is the document you will present to your insurer, your solicitor, or a future buyer. An incomplete one creates doubt precisely when you need certainty.
A complete PRV report should include:
Project details: property address, dates of remediation and verification, scope of remediation work
Assessor credentials: name, qualifications, professional memberships, and confirmation of independence from the remediator
Visual inspection findings: written observations and photographs of all inspected surfaces, including areas of concern
Moisture readings: tabulated results by location and material, with reference to dry-standard targets
Sample descriptions: sample type, location, collection time, and collector for every sample taken
Chain of custody documentation: completed forms and laboratory receipt confirmation
Laboratory reports: full analytical results from the UKAS-accredited lab, appended in their original format
Comparison narrative: a written assessment of results against the agreed clearance criteria
Clear pass or fail conclusion: an unambiguous statement of whether the site meets the agreed criteria
Recommendations: where criteria are not met, specific corrective actions and a re-sampling protocol
Retain the report permanently. For residential properties, it forms part of the property’s condition history and may be requested during conveyancing. For commercial or institutional sites, it supports regulatory compliance and occupancy decisions.
What happens if PRV fails, and what should you do next?
A failed PRV is not the end of the process. It is a documented finding that tells you exactly where the remediation fell short.
Common causes of a failed clearance include:
Residual moisture in retained substrates, often in wall cavities or beneath flooring
Missed pockets of growth behind fixtures, inside ducts, or at junctions between materials
Contaminated retained materials that should have been removed
Testing conducted too soon, before the required still-air period
Containment breached during or before sampling, allowing cross-contamination
Inspectapedia’s guidance on post-remediation visual inspection lists failing to maintain containment and leaving demolition debris as among the most common cleanup mistakes that lead to clearance failures.
Immediate steps when PRV fails:
Document the specific failing criteria in writing, referencing the lab report and the agreed clearance parameters
Notify the remediation contractor formally and in writing, citing the contractual requirement to achieve third-party clearance
Require targeted re-remediation of the identified defects — not a repeat of the full scope unless warranted
Schedule re-testing with the same independent IEP, using the same sampling plan, to allow direct comparison
Preserve all documentation (original report, correspondence, re-remediation records) for your insurer
Pro Tip: Before signing any remediation contract, confirm it includes a clause requiring the contractor to achieve independent third-party clearance and to bear the cost of rework and re-testing if the first PRV fails.
Contract language matters. A guarantee to “complete remediation to industry standards” is not the same as a guarantee to “pass independent third-party clearance testing.” The latter is the only wording that protects you.
What does PRV typically cost and how long does it take in the UK?
Timing and cost vary with property size, contamination extent, and the number and type of samples required. These are the factors that drive the figures.
Timing considerations:
A still-air period of 24–48 hours is standard before sampling begins
Standard laboratory turnaround is typically 3–5 working days from sample receipt
Rush analysis (24–48 hours) is available but carries a premium
Allow for IEP report preparation time: typically 1–3 working days after results are received
Total elapsed time from end of remediation to final report: commonly 7–14 days for a standard residential project
Cost factors:
Property size and number of rooms within scope
Number and type of samples (air, surface, bulk, HVAC)
Inclusion of cavity or duct sampling, which requires additional access and equipment
UKAS-accredited laboratory fees, which vary by test method and turnaround speed
Geographic factors: travel costs for rural or remote sites
Rush turnaround premiums, where applicable
For a typical residential property in the UK Midlands, a site visit, sampling, laboratory analysis, and written report are usually quoted as a combined package. Laboratory fees, site visit charges, and report preparation are sometimes itemised separately, so ask for a fully inclusive quote before engaging a verifier.
How Dudleyspecialistcleaners documents PRV: a practitioner example
When Dudleyspecialistcleaners completes a mould removal project in Dudley, Wolverhampton, or Walsall, the evidence pack assembled for client handover reflects the same standards described throughout this guide.
The handover pack typically includes:
Timestamped photographic evidence of all remediated surfaces, before and after
Moisture meter readings logged by location and material, with reference to dry-standard thresholds
Chain-of-custody documentation for all samples dispatched to the laboratory
Full laboratory reports from a UKAS-accredited facility
A formal clearance certificate confirming the site meets agreed criteria
Dudleyspecialistcleaners coordinates with independent IEPs and uses UKAS-accredited laboratories for analysis, maintaining the separation between remediation and verification that insurers and solicitors expect. The GOV.UK LCRM Stage 3 framework and CIRIA C735 guidance both inform the verification planning approach used on more complex commercial and institutional projects.
For institutional sites — schools, NHS facilities, and medical practices — the documentation standard is higher still, with full QA paperwork supplied to support infection control governance. You can see how this approach applies to sensitive environments in our Dudley school mould removal service work.
Why agreeing clearance criteria early is the single most important step
Every dispute we have seen in post-remediation verification comes back to the same root cause: nobody agreed what “done” looked like before the work started. The remediator believed the job was complete; the client or their insurer disagreed; and without documented criteria, neither side had a reference point.
Agreeing clearance criteria in writing — moisture thresholds, sampling methods, pass/fail parameters, and the identity of the independent verifier — before remediation begins removes that ambiguity entirely. It protects the remediator from unreasonable expectations and protects the client from substandard work. The SCRT’s PRV guidance makes this explicit: criteria and process must be documented and agreed before work starts, not negotiated after results arrive.
The practical consequence is straightforward. A remediation contract that does not specify clearance criteria is an incomplete contract. Insist on a clause that names the agreed parameters, the independent verifier, and the laboratory. If a contractor resists that clause, treat the resistance as a signal.
Verified clearance from a trusted local specialist
When you need mould removal and verified clearance in Dudley, Wolverhampton, or Walsall, Dudleyspecialistcleaners delivers the complete evidence pack that insurers, solicitors, and property managers require.
We use hospital-grade equipment, coordinate with independent IEPs, and send all samples to UKAS-accredited laboratories. At handover, you receive photographs, moisture logs, chain-of-custody records, full lab reports, and a formal mould clearance certificate. There is no ambiguity about what the space has been returned to.
Our specialist disinfection services extend to NHS facilities, medical practices, and commercial buildings where documentation standards are non-negotiable. We also support landlords and property managers who need a clear, defensible record before tenants return or a property changes hands.
To arrange a site survey or request a quote for mould removal with verified clearance, contact Dudleyspecialistcleaners directly through our main services page.
Sources
The following sources provide authoritative guidance on PRV standards, verification planning, and laboratory accreditation:
Recommended
Comments